Jenkins is an open-source automation server that enables Continuous Integration (CI) and Continuous Deployment (CD) for software development projects. It helps streamline the development process by automating build, test, and deployment tasks. In this Step by Step Guide to Jenkins Installation, Setup, and Creating a Freestyle Project for Python
Jenkins Installation
Step 1: Prerequisites
Before we start, ensure that you have the following prerequisites:
– A server or a virtual machine with a supported operating system (Linux, Windows, macOS) or we can install on any local machine.
– Java Runtime Environment (JRE) installed (preferably the latest version).
Step 2: Download and Install Jenkins
1. Visit the official Jenkins website (https://www.jenkins.io/) and download the latest LTS (Long-Term Support) version.
2. Install Jenkins based on your operating system. For Linux, you can use package managers like apt or yum. For Windows, download the installer and run it.
Step 3: Start Jenkins
1. On Linux: Open a terminal and execute the following command to start Jenkins:
sudo service jenkins start
2. On Windows/macOS: Start Jenkins from the installed application.
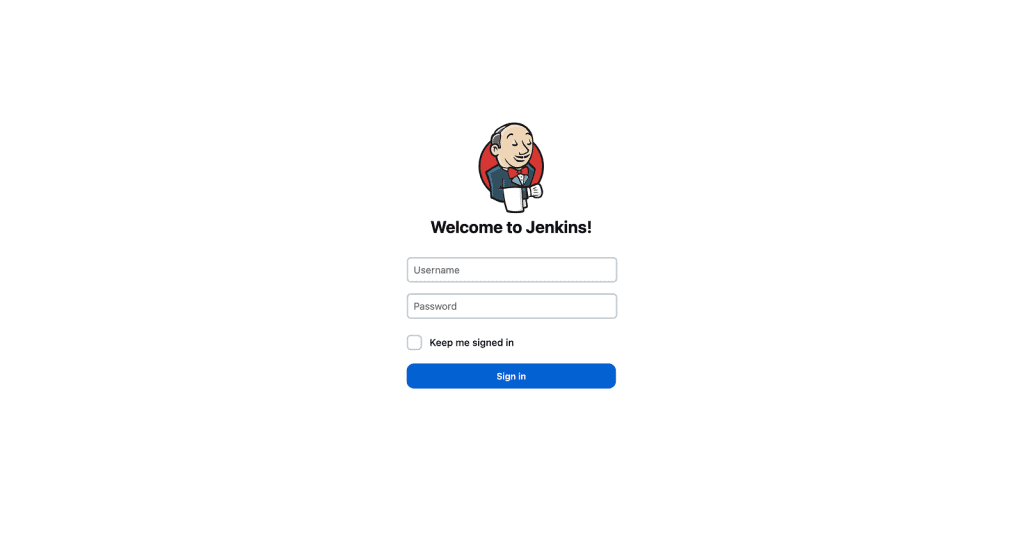
Step 4: Access Jenkins Web Interface
Jenkins runs on port 8080 by default. Open your web browser and navigate to:
http://localhost:8080
You will be prompted to enter the initial admin password, which can be found in the Jenkins installation directory.
Jenkins Setup
Step 1: Unlock Jenkins
1. Follow the on-screen instructions to unlock Jenkins using the provided initial admin password.
2. Click “Install suggested plugins” to install the recommended plugins for basic functionality.
Step 2: Create an Admin User
1. Enter your desired admin username, password, and other details.
2. Click “Save and Finish” and then “Start using Jenkins.”
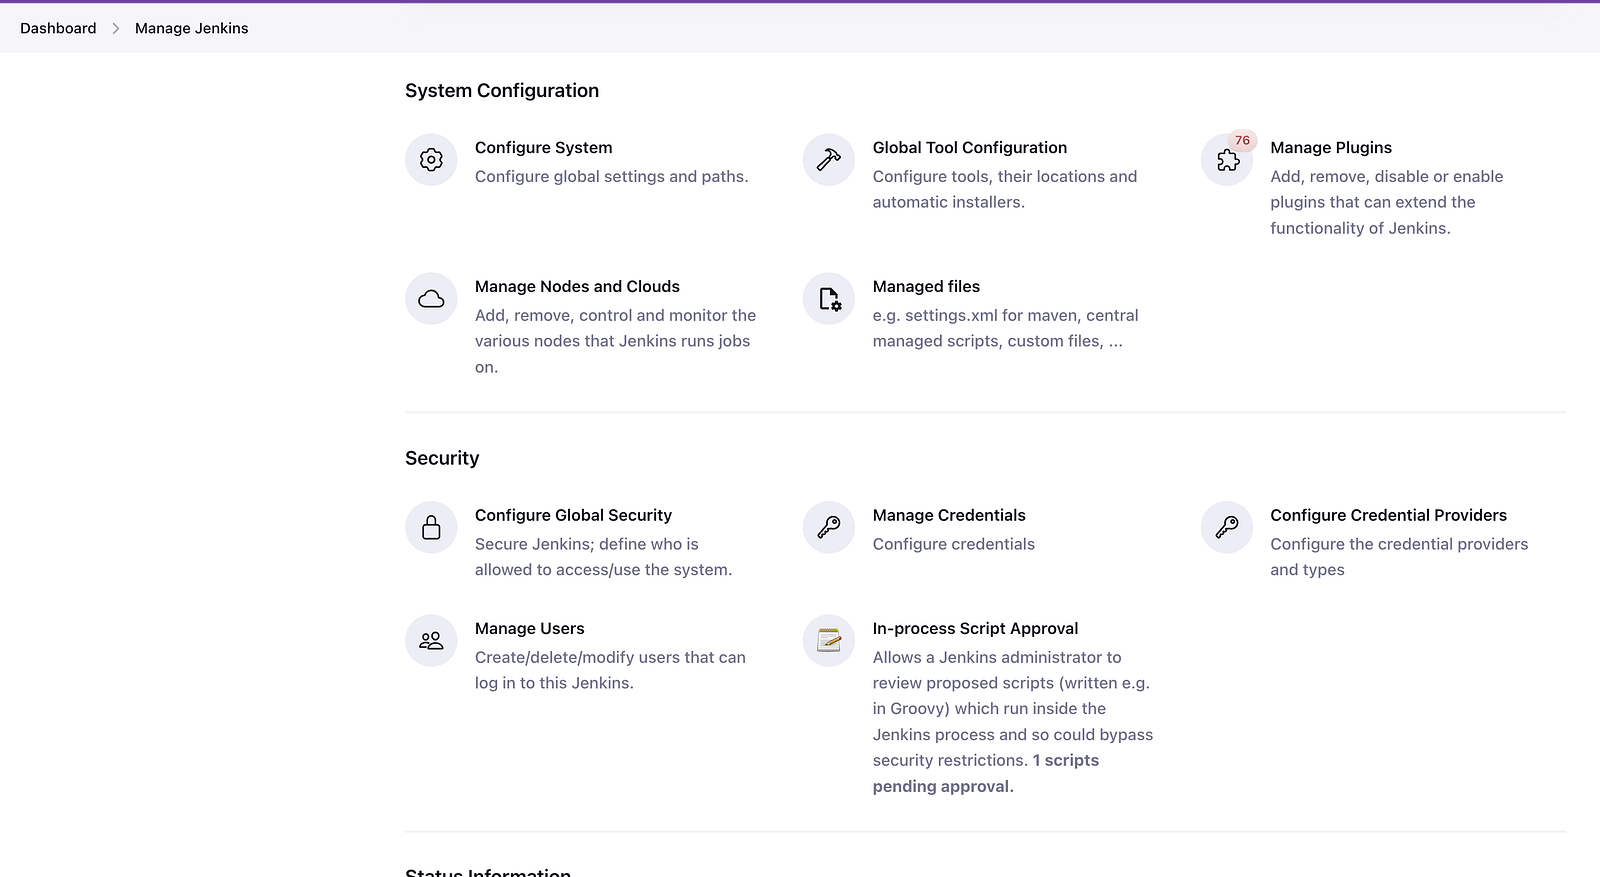
Installing Python Plugins
Step 1: Install Python Plugins
1. Go to “Manage Jenkins” > “Manage Plugins.”
2. Switch to the “Available” tab and search for “Python” in the filter box.
3. Check the “Python Plugin” and “Pipeline Utility Steps” plugins.
4. Click “Install without restart” to install the selected plugins.
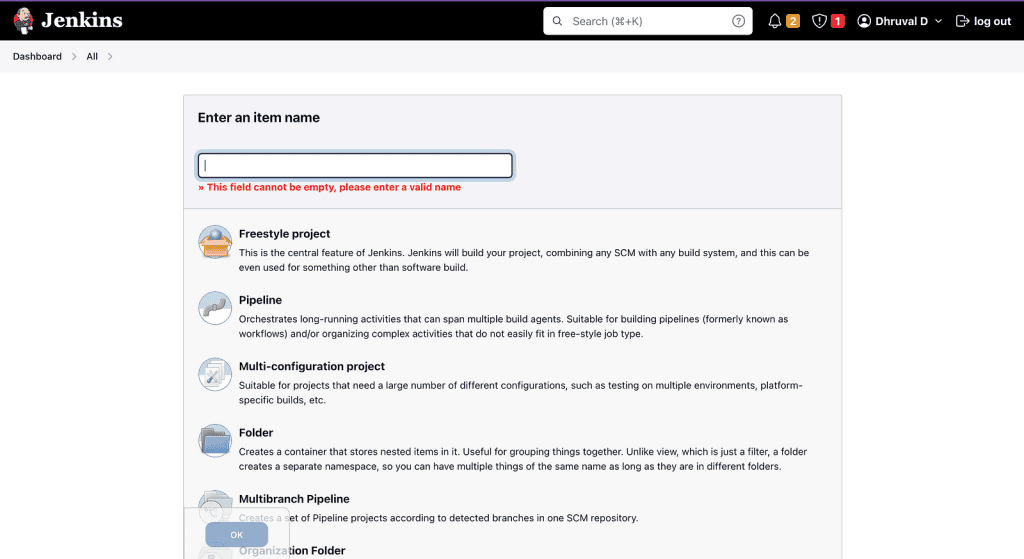
Create a Freestyle Project for Python
Step 1: Build a New Freestyle Project
1. From the Jenkins dashboard, click “New Item” on the left-hand side.
2. Enter a project name (e.g., “Python Freestyle Project”) and select “Freestyle project.”
3. Click “OK” to create the project.
Step 2: Configure the Freestyle Project
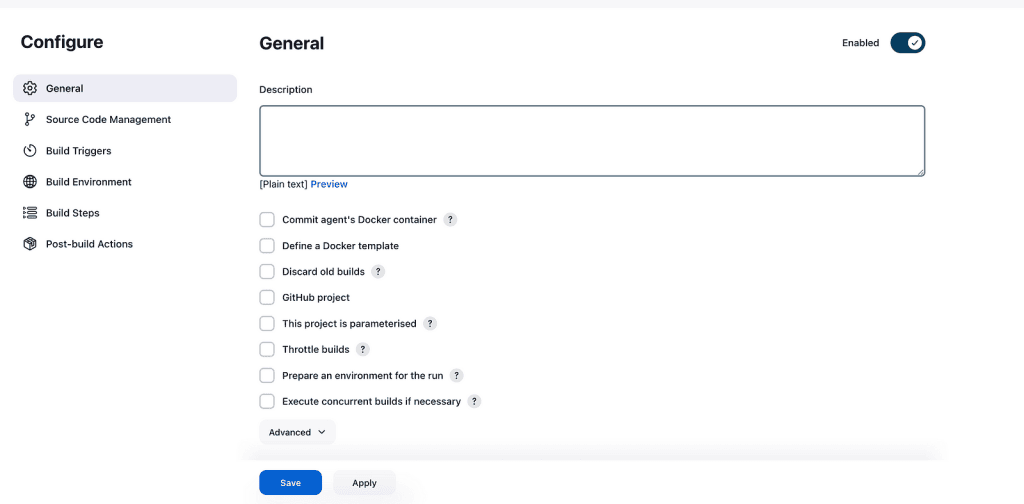
1. In the project configuration page, go to the “General” section:
— Provide a description for the project (optional).
— Select “Discard old builds” to limit the number of builds kept.
— Check “GitHub project” and enter the repository URL if your Python project is hosted on GitHub.
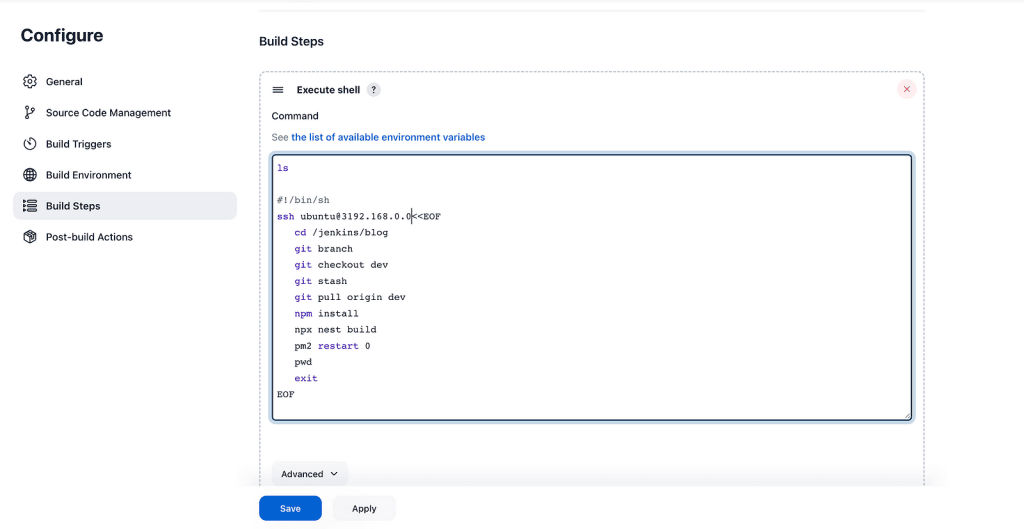
2. In the “Build” section:
— Click “Add build step” and select “Execute shell” (Linux/macOS) or “Execute Windows batch command” (Windows).
— In the command box, enter the shell or batch commands to build and test your Python application.
Step 3: Save and Run the Freestyle Project
1. Click “Save” to save the project configuration.
2. From the Jenkins dashboard, click “Build Now” to trigger a new build.
Section 5: Advanced Jenkins Configuration for Python Projects
In this section, we will explore some advanced Jenkins configuration options to enhance the CI/CD pipeline for Python projects. We’ll cover integrating version control, setting up build triggers, and configuring build environments using virtual environments.
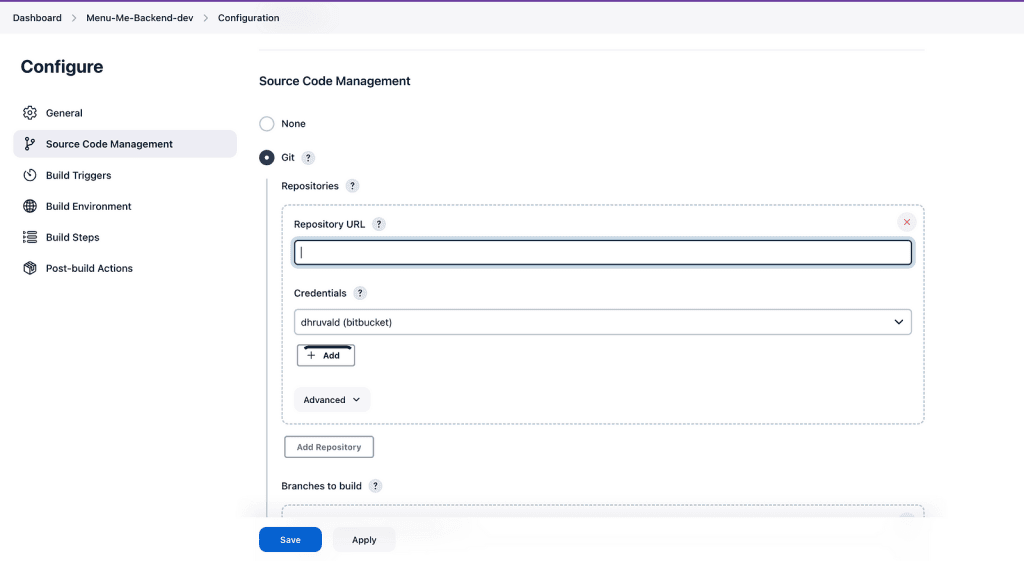
Step 4: Integrating Version Control
To automate the CI/CD process, Jenkins should automatically trigger builds whenever changes are pushed to the version control repository. We can achieve this by configuring the Jenkins job to monitor the repository for changes.
- Go to the project configuration page.
- In the “Build Triggers” section, select “Poll SCM.”
- In the “Schedule” box, enter a cron expression to specify how often Jenkins should check for changes. For example, to check every minute, use “* * * * *”.
By configuring polling, Jenkins will automatically trigger a build whenever new commits are detected in the repository.
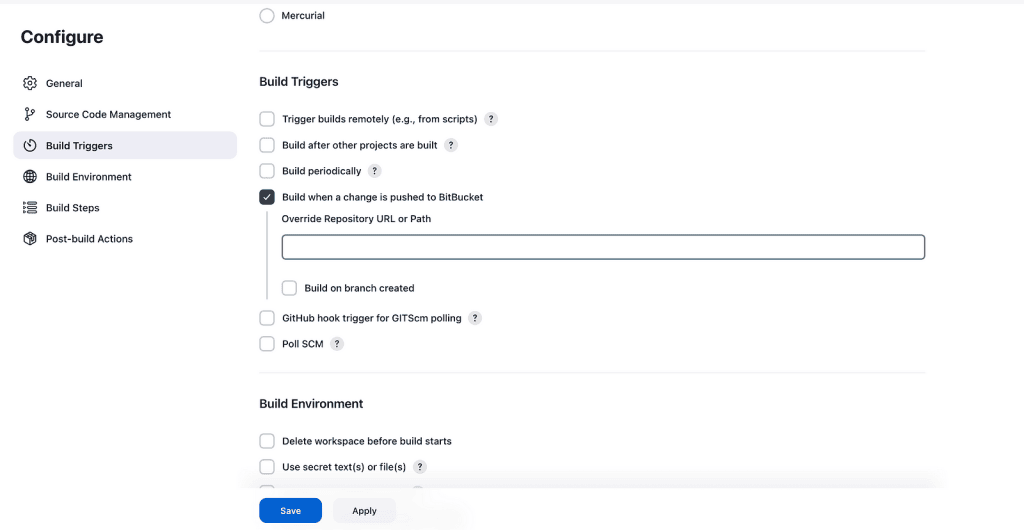
Step 5: Setting Up Build Triggers
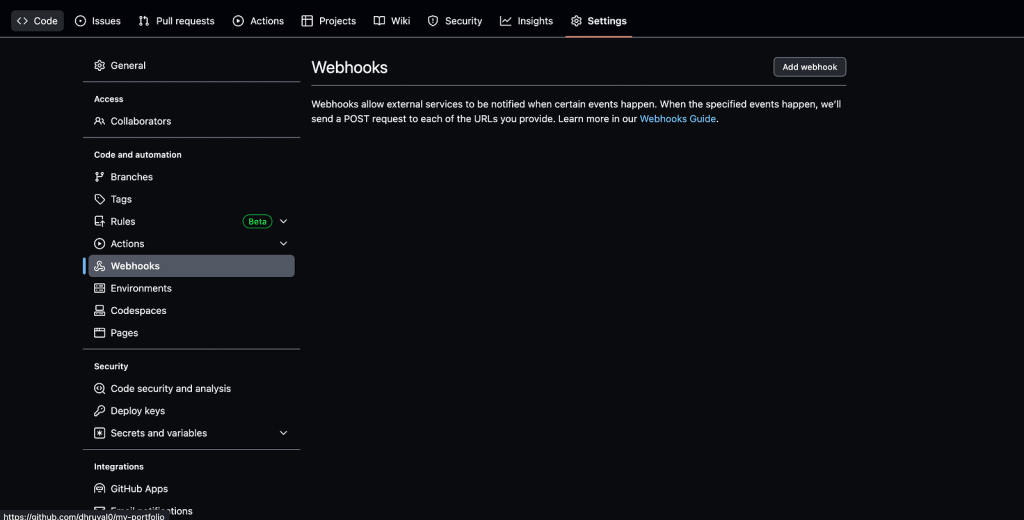
In addition to polling for changes, Jenkins supports various build triggers, including webhook triggers and time-based triggers. Webhooks allow your version control system (e.g., GitHub, GitLab) to notify Jenkins about new commits or pull requests, triggering builds in real-time.
- Install the “GitHub Integration” or “GitLab Plugin” from the Jenkins plugin manager.
- Go to the project configuration page.
- In the “Build Triggers” section, select “GitHub hook trigger for GITScm polling” (for GitHub) or “Build when a change is pushed to GitLab” (for GitLab).
By enabling webhook triggers, builds will be triggered automatically when new commits are pushed or pull requests are opened in the repository.
Step 6: Configuring Build Environments Using Virtual Environments
To ensure reproducibility and isolation, it’s best to run Python projects inside virtual environments. We can configure Jenkins to create and activate a virtual environment for each build.
- Install the “Python Virtualenv” plugin from the Jenkins plugin manager.
- Go to the project configuration page.
- In the “Build Environment” section, select “Delete workspace before build starts” to start with a clean workspace for each build.
- Check “Run the build in a Python virtual environment” and specify the Python version and options for the virtual environment.
By using virtual environments, Jenkins will create an isolated environment for each build, ensuring dependencies are installed independently for each project.
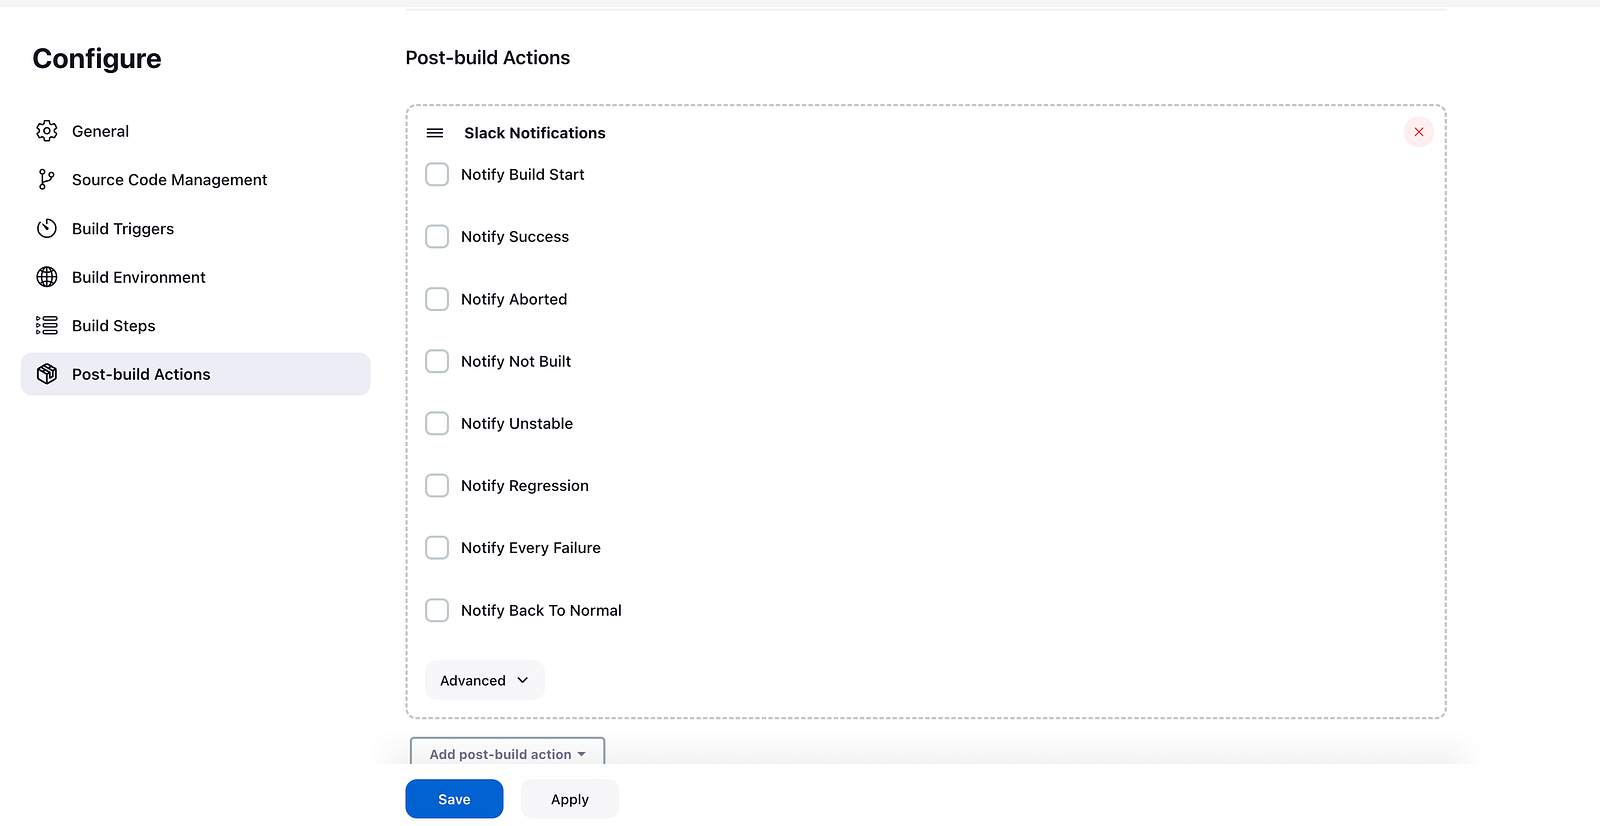
Step 7: Adding Post-Build Actions
After the build and test stages, we can add post-build actions to report test results, archive artifacts, or trigger deployments.
- In the project configuration page, scroll down to the “Post-build Actions” section.
- For Python projects, you can use the “Publish JUnit test result report” to report test results from test frameworks like unittest, pytest, or nose.
By adding post-build actions, Jenkins can generate reports and artifacts that provide insights into the build and test results.
Conclusion
Congratulations! You have successfully installed Jenkins, set it up, and created a freestyle project for a Python application. Jenkins will now automatically execute your build and test scripts whenever changes are pushed to the repository, enabling continuous integration for your Python project. With Jenkins’ flexibility and extensibility, you can further customize your CI/CD pipeline to suit your project’s specific needs and scale it as your development team grows. Happy coding and automating!